Code Contribution Guidelines
Thank you for investing your time in contributing to our project! Any contribution you make will be reflected on nmrxiv.org after it has passed all the test cases on dev.nmrxiv.org. In this guide you will get an overview of the contribution workflow from opening an issue, creating a PR, reviewing, and merging the PR.
Getting started
Before you start contributing, make sure:
- You have a GitHub account, for information on how to create an account, see Signing up for GitHub..
- You have proper access to the repo for your GitHub account, for which you can contact repository owners.
- You have a code editor installed in your local system, we recommend using Visual Studio Code.
- You have cloned the code and have nmrXiv running locally, for which you can follow the steps provided here.
Create a new issue
If you spot a problem with the application, search if an issue already exists. If a related issue doesn't exist, you can open a new issue with the appropriate form. Click here to learn more about how to create an issue or report a bug.
Solve an issue
Scan through our existing issues to find one that interests you. You can narrow down the search using labels as filters.
Workflow
Create a branch
Never push your code directly to the development or main branch. Switch to the development branch and create a new branch in your repository. A short, descriptive branch name enables your collaborators to see ongoing work at a glance. The branch name should be all small with words separated by a hyphen, click here to follow some examples.
Make Changes
On your branch, make the desired changes to the repository. Your branch is a safe place to make changes. If you make a mistake, you can revert your changes or push additional changes to fix the mistake. Your changes will not end up on the default branch until you merge your branch. Commit and push your changes to your branch. Once your changes are ready, don't forget to self-review to speed up the review process. Also, you have proper comments all over your code so that it's easy and clean to understand.
Format
For formatting, you can simply run below command which will help saving your time in code formatting and makes it simple to ensure that your code style stays clean, consistent and properly indented.
npm run format
./vendor/bin/sail pint
Commit
To facilitate auto CHANGELOG generation, creation of GitHub releases, and version bumps(as per Semantic Versioning), please follow the structure of Conventional Commit for your commit messages. Each commit should also be descriptive enough to help you and future contributors to understand what changes the commit contains.
<type>[optional scope]: <description>

[optional body]

[optional footer(s)]
choose your <type> from below:
fix: a commit of the type fix patches a bug in your codebase (this correlates with PATCH in Semantic Versioning).feat: a commit of the type feat introduces a new feature to the codebase (this correlates with MINOR in Semantic Versioning).BREAKING CHANGE: a commit that has a footer BREAKING CHANGE:, or appends a ! after the type/scope, introduces a breaking API change (correlating with MAJOR in Semantic Versioning). A BREAKING CHANGE can be part of commits of any type.
An example would look like this:
fix: update iframe reference point

Resolves the connection issue for the upload view.

Reviewed-by: XYZ
Fixes: #123
Click here to learn more about Conventional Commit.
Create a pull request
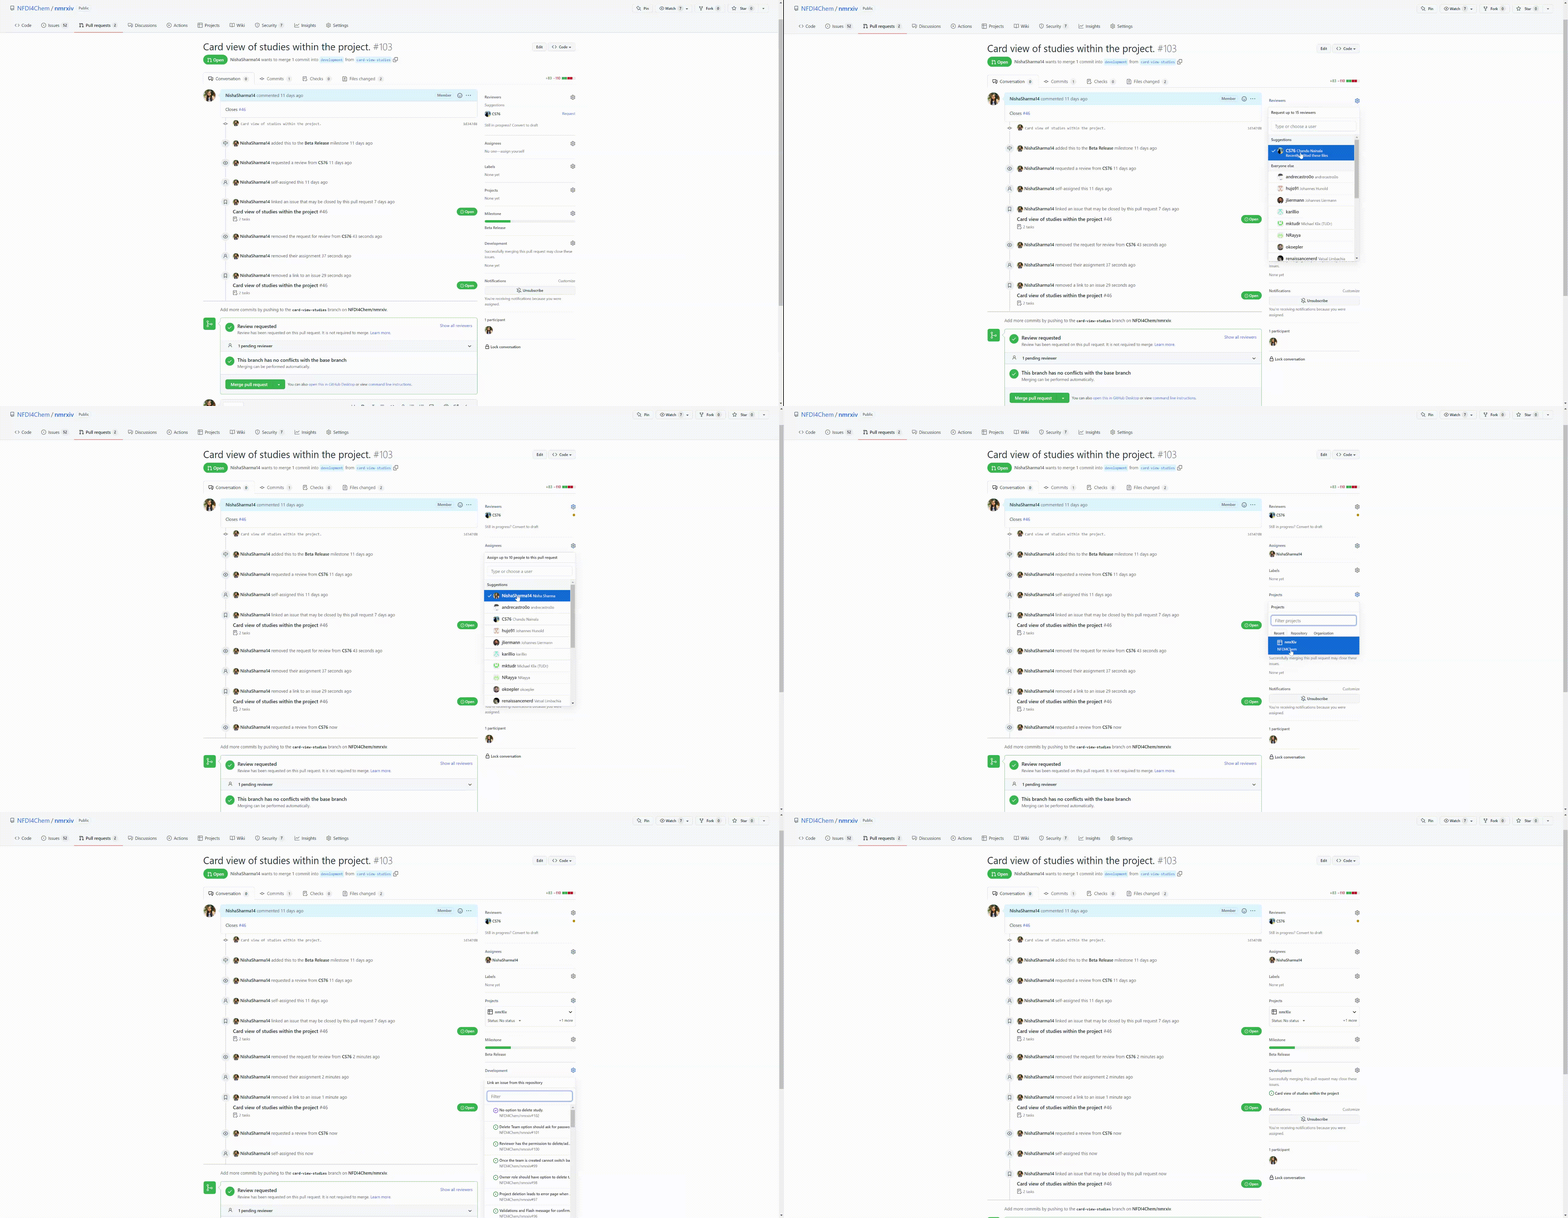
When you're finished with the changes, create a pull request(also known as a PR) to the development branch. When you create a pull request, make sure
- You include a summary of the changes and what problem they solve.
- Your branch has no conflicts with the base branch.
- You have linked the issue, if your pull request addresses an issue. If you link with a keyword, the issue will close automatically when the pull request merges.
- You have assigned a reviewer for faster code review.

Address review comments
Reviewers can leave questions, comments, and suggestions. Reviewers can comment on the whole pull request or add comments to specific lines. You and reviewers can insert images or code suggestions to clarify comments. You can continue to commit and push changes in response to the reviews. Your pull request will update automatically.
Merge your pull request
Your pull request can be merged once it is approved by the reviewer. The primary merge should always be made to the development branch, from where your code will be deployed to the dev environment via our CI/CD pipeline. The dev environment provides the room to test your feature or code changes. Once it has passed all the test cases, your code changes will now be included as part of a release and be deployed finally to the production environment. These actions are restrictive and should only be performed by our repo admins and owners.
Please note
Your branch will be deleted as soon as it is merged to development or main branch. However you always have an option to restore it within a limited time frame.
Warning
- Never leak your secrets or commit local config files(.env) into source control.
- Follow the link to learn more about Laravel and Inertia.js best practices.

